
Why Warming Up is Important, in Soccer
Why Warming Up is Important
Kids at this age really don’t need to warm up much, if at all, but this gets them together, gets them listening and gets that initial burst of nerves or shyness out. It also allows the coach to warm up, someone who definitely needs it.
Feel free to come up with your own. Or interject some of your favorite foot skills from weeks prior.
Game 1
Game 1
 Listen, React and Don't Stay Down!
This is a good warm-up exercise that warms up the brain as well as the feet. You soon find out who can think quickly – and also who knows their left from their right! Just don't be too hard on the players that can't distinguish between their Right and Left yet - Chances are they will just follow what the other players are doing anyway.
Have players spread out on the field. A Ball is not necessary.
You shout out instructions (2-3 steps is good for this age). In after each step, the player should sit down and stand up quickly. You may have to repeat the steps as they do it.
Examples of steps (and you might want to show them how to do it before you begin the game). And remind to have them sit and stand up in between each step.
- 2 To Your Left
- 1 To Your Right, 1 Forward
- 2 To Your Right, 1 Backwards
Make sure your kids are on their toes ready to move – no standing flat-footed. By having them sit between steps, it teaches them how to quickly get back up in the event they would fall during a game.
Game 2
Game 2
 Skipping
This is a hard skill for young kids to learn. So don't let them be frustrated if they can't get it right away. Just focus on the individual steps to get to a skip. Be sure to congratulate them with High Fives as they get it. And if the kids don't get it - try to laugh about all the silly moves they are doing.
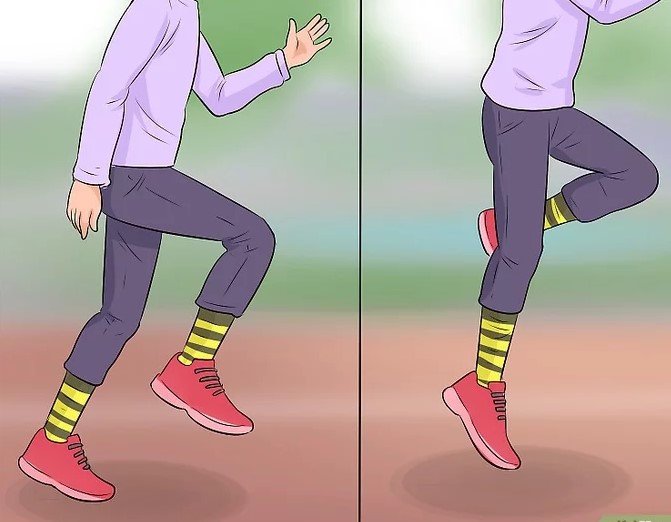
 Step 1 - March with High Knees. Marching with high knees mirrors the movement of skipping closely. Bring one foot up and bend at the knee to create a 90 degree angle. As you step forward, bring the other leg up in a quick motion.
 Step 2 - Jump with Both Feet. Stand with feet close together and push off with both feet. Try lifting your feet off the ground at the same time. Practice landing quietly by landing on your toes and letting your ankles and knees bend. See how high you can jump.
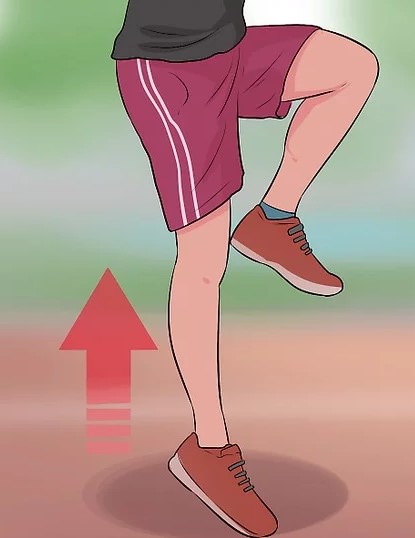
 Step 3 - Hop one foot at a time. Learning to hop on one leg is a prerequisite skill to hopping. Lift one foot up, bending at the knee, and hold it there. Balance on your standing leg and try to stabilize by tightening the muscles in that leg. Once you have steadied yourself, lift off your heel and push off the ground with the ball of your foot. Try landing an inch or two forward back onto the ball of your foot.
- Keep yourself balanced by bringing your arms to your sides in a wide A shape.
- Switch feet and try balancing on the other foot.
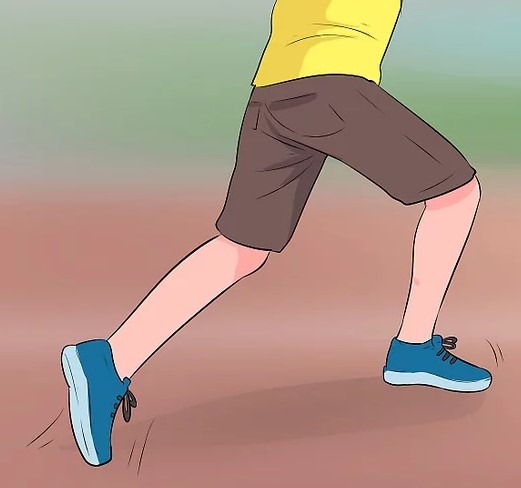 Step 4 - Practice galloping. Thrust your foot up and bend at the knee. Step forward with the lifted foot and shift your weight into the foot in front of you. Quickly close the gap between your feet by moving your back foot forward, so it rests just behind the front foot. Continue this motion forward with the same foot.
- Make sure you switch sides and gallop with your other foot.
- A gallop is nearly as difficult as skipping. Once you’ve mastered the gallop, you can then move on to skipping.
 Step 5 - Step forward, then hop on that foot. The basic skipping motion is step, hop, step, hop. Start by stepping forward with one foot, then hopping on that same leg. It helps to step on just the balls of your feet, keeping your heel lifted. Push off your ball and propel yourself forward a few inches as you jump. Land lightly with bent knees.
- Point your toes in the direction you want to be skipping towards.
- Keep your head up and eyes forward. You may need to look at your legs as you get used to the motion, but eventually you should look up and ahead.
- Hold your abs in and chest up. Keeping a good posture will add height and distance to your skips.
- When you land, don't make a lot of noise. If the ground makes a loud noise when you land, you’re wasting too much energy. Keep control of the jump through your Achilles tendon and knees.
Step 6 - Repeat that motion on the other leg. After landing, step forward with the other leg and repeat the previous motion. Step on the ball of your foot, hop, then land lightly with a bent knee.
- Another way to think about skipping is to add hops in while marching. Practice marching with high knees. When you lift up one leg with knees bent, the standing leg should do a hop. Repeat on the other leg. Continue the march-hop motion in a series.
Game 3
Game 3
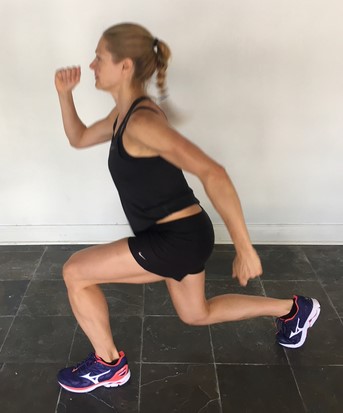 90 Degree Step
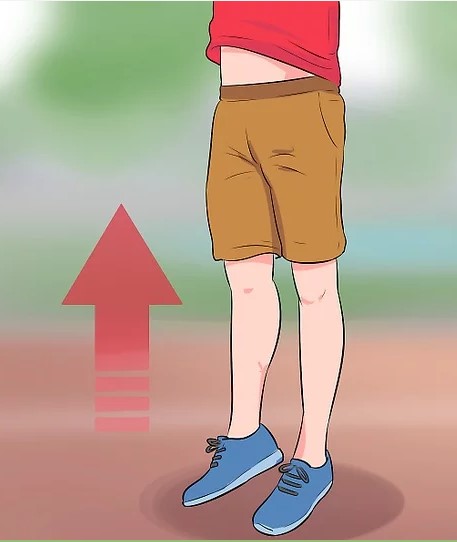
Line up on one side of the field. Have players walk to the other side of the field by taking large strides. Their leading leg should bend to 90 degree angle before they switch feet for the next step.
Game 4
Game 4
 Follow the Line!
Make sure everyone has a ball. Ask them to stay on your half of the field and dribble the ball on all the lines of the field.
Game 5
Game 5
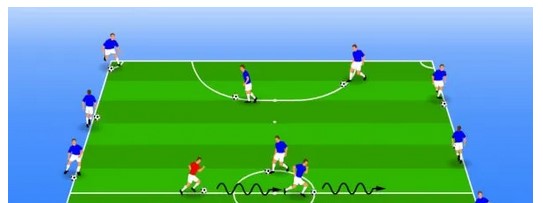
 Tunnel Tag
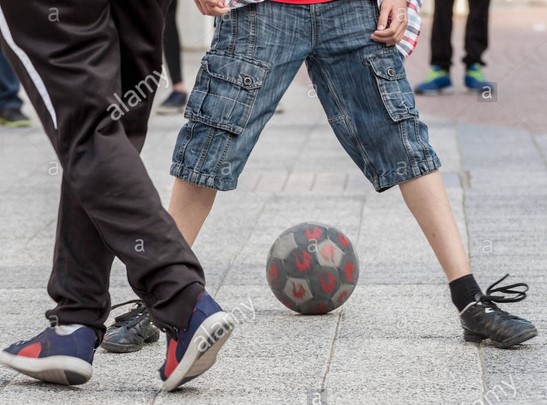
This activity is actually a great dribbling drill too. It teaches players awareness while working on ball control. Set up an area at least 15 yards x 15 yards marked by discs or cones. Each player will have a soccer ball.
On the whistle the players will control their own ball in the designated area. The coaches will roam the field and try to tag players. When a player is tagged by the coach they must spread their legs wide and hold their ball up over their head. The only way to get back in the game is by one of their teammates dribbling their own ball through their legs.
This drill focuses on keeping your head up and having awareness to the surroundings. They have to know where the coaches are at all times and at the same time try to navigate the field of play to help save their teammates.
Remind players to communicate to the other players that they need to be unfrozen.
Game 6
Game 6
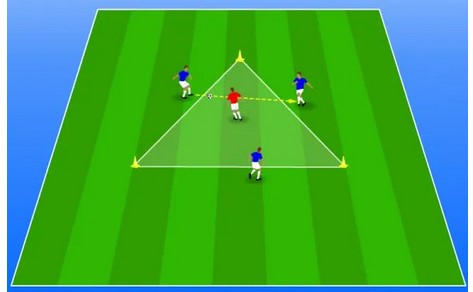 Triangle - Monkey in the Middle
Three passers are assigned to each side of the triangle with one defender in the middle. The Outside Passers will pass the ball to each other, while the defender tries to block/ steal the ball from them. If the Defender gets the ball, the kids switch, so that there's a new defender. Also, don't let the passing go too long without them just changing defenders (as some kids may have a harder time blocking/ stealing the ball, than others).